Run NCS Applications on Raspberry Pi
Why an Embedded Board?
The Intel® Movidius™ Neural Compute Stick (Intel® Movidius™ NCS) is essentially an Intel® Movidius™ visual processing unit (VPU) on a USB stick. It is the same low-power chip that provides visual intelligence to millions of low-power embedded devices such as smart security cameras, gesture controlled drones, industrial machine vision equipment, and more. Since the Intel Movidius NCS is designed for low-power applications, it makes sense we pair it with a low-power embedded system such as MinnowBoard, UP Board, or Raspberry Pi (RPi).
Click here for a community contributed Chinese translation of this blog.
Development vs Deployment
Raspbian (operating system for RPi) provides a nice graphical user interface (GUI) so that users can plug a monitor, keyboard, and mouse to work directly on the Pi. While this makes it convenient for users to explore Pi features and do some light development work, it is common to deploy embedded products/projects in headless mode (no monitor, keyboard, or mouse). For example, if you want to build a Pi-powered ping pong pursuit robot, you can’t really put a monitor, keyboard, and mouse on it.
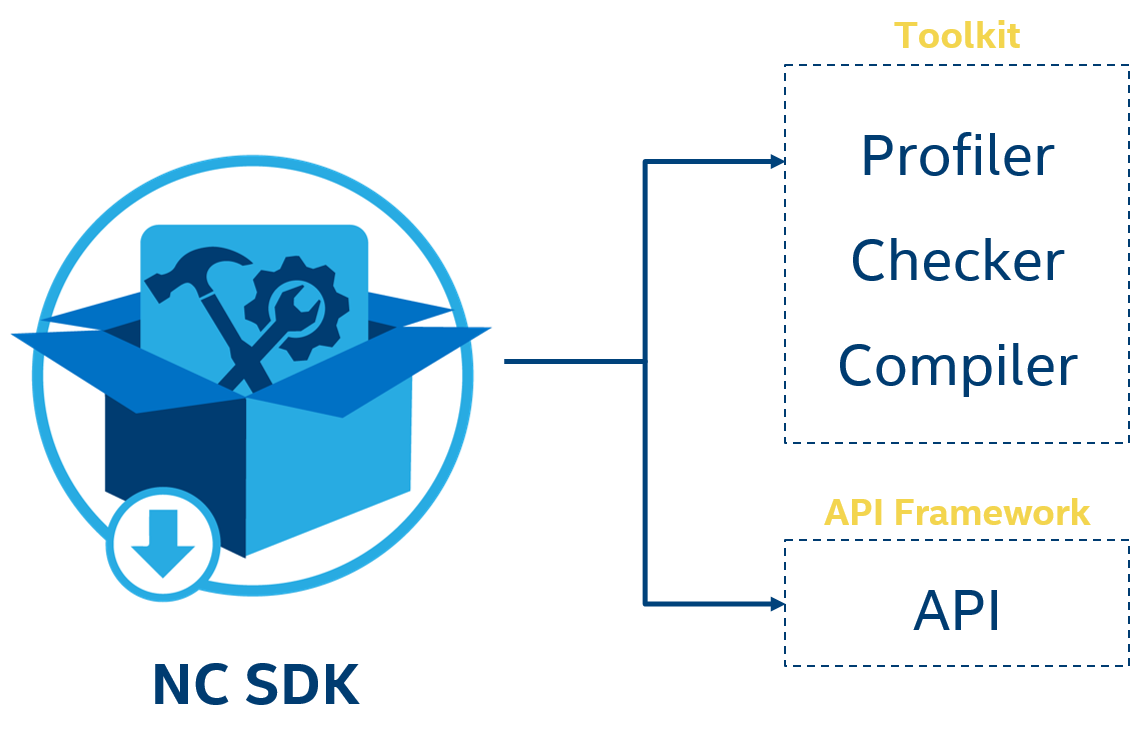
Software for embedded products is typically developed on a development platform, like a laptop, desktop or server, and the resulting binary files are deployed on the embedded hardware. In order to support both development and deployment, the Intel® Movidius™ Neural Compute SDK (NCSDK) can run in two modes:
- Full SDK mode - Install both the toolkit and API framework on Pi
- Slower installation; installation process is same as installing on a laptop/desktop - Intel Movidius NCS Quick Start Guide
- API-only mode - Install only the APi framework on Pi
- Faster installation; profiling and compiling networks should be done on a laptop or desktop

The API-only mode allows you to develop apps on the Pi even though the toolkit is not installed. The limitation with this mode is the inability to profile, check/validate and compile neural networks into binary graph files.
Practical Learning!
You will build…
A Raspberry Pi and NCS-based embedded deep neural network (DNN) image processing system.
You will learn…
- How to install NCSDK on Raspberry Pi in API-only mode
- How to run an NCS app on Raspberry Pi
You will need…
- An Intel Movidius Neural Compute Stick - Where to buy
- An x86_64 laptop/desktop running Ubuntu 16.04 (“Development machine”)
- A Raspberry Pi (RPi) 3 Model B
- A powered USB hub
If you haven’t already done so, install NCSDK on your development machine. Refer to the Intel Movidius NCS Quick Start Guide for installation instructions.
Let’s build!
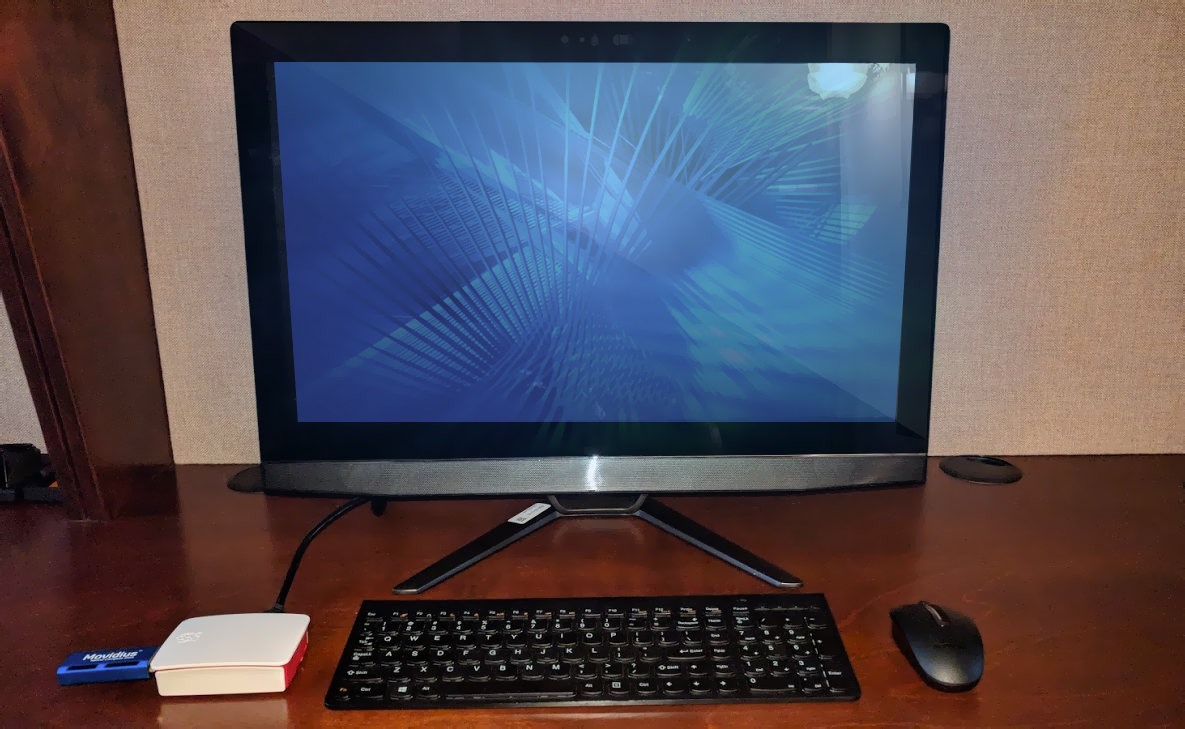
Step 1: Set up your Raspberry Pi in desktop mode (as shown in the picture below)

Step 2: Install Debian and Python dependencies
sudo apt-get install -y libusb-1.0-0-dev libprotobuf-dev libleveldb-dev libsnappy-dev libopencv-dev libhdf5-serial-dev protobuf-compiler libatlas-base-dev git automake byacc lsb-release cmake libgflags-dev libgoogle-glog-dev liblmdb-dev swig3.0 graphviz libxslt-dev libxml2-dev gfortran python3-dev python-pip python3-pip python3-setuptools python3-markdown python3-pillow python3-yaml python3-pygraphviz python3-h5py python3-nose python3-lxml python3-matplotlib python3-numpy python3-protobuf python3-dateutil python3-skimage python3-scipy python3-six python3-networkx python3-tkYou can choose to install python dependencies via pip package manager (
pip3 install), but I noticed that installing from debian package manager (apt-get install python3-xxx) is much faster.
Step 3: Download NCSDK onto your Pi
Run the following commands in a terminal window
mkdir -p ~/workspace
cd ~/workspace
git clone https://github.com/movidius/ncsdk
Step 4: Compile and install NCSDK’s API framework
cd ~/workspace/ncsdk/api/src
make
sudo make install
Step 5: Test installation using sample code from NC App Zoo
Run the following commands in a terminal window:
cd ~/workspace
git clone https://github.com/movidius/ncappzoo
cd ncappzoo/apps/hello_ncs_py
python3 hello_ncs.py
You should see an output similar to:
Hello NCS! Device opened normally.
Goodbye NCS! Device closed normally.
NCS device working.
Congratulations! You have successfully installed NCSDK in API-only mode on Pi.
Bonus step: Deploying a pre-compiled graph file
The hello_ncs_py sample code we ran in step 5 opened the NCS device and closed it; it didn’t really run an inference. In order to run inference on NCS, we need a graph file that was generated by mvNCCompile, which is part of the NCSDK Toolkit we did not install on our Pi.
Head over to your development machine where you have installed the full SDK, and follow the instructions from the mvNCCompile doc page to generate a graph file based on GoogLeNet. Copy ~/workspace/ncsdk/examples/caffe/GoogLeNet/graph from your development machine to ~/workspace/ncappzoo/caffe/GoogLeNet/graph of your Pi.
Now that you have a graph file on your Pi, follow instructions from NCS image classifier to run an image classifier on your Pi.
Further Experiments
- Run NCS image classifier on Raspberry Pi
- Compile and run a C/C++ sample code on RPi
- ex. ~/workspace/ncappzoo/apps/hello_ncs_cpp
Further Reading
- Here’s a tweet by Daniel Whitenack who got NCS running on an Allwinner ARM-based Pocket Chip.